 Skip to content
Hey! Do you have a plan to start a blog? are you confused about how and where to start? What platform to choose? okay, no problem. I’m gonna explain here top to bottom step by step everything you need to start a blog from scratch. So let’s see, how to start a blog from the beginning.
Start Your Blog in 9 Easy Steps
| Step #1: Select a perfect niche for start a blog | Step #2: Pick a domain name |
| Step #3: Select a web hosting plan | Step #4: Choose a blogging platform |
| Step #5: Start a blog on CMS | Step #6: Select a theme and design your blog |
| Step #7: Make content in your blog | Step #8: SEO your blog website |
| Step #9: Make money from blogging |
Step #1: Select a perfect niche for starting a blog

You may know that there are too many ways to start a blog. So, I guess that you have chosen a niche for your blog. So what is a niche? if you don’t know what is niche, This is for you.
What is Niche?
Niche is a topic of website content. where you will write a lot of content on that niche. For example, if you love traveling and you traveled to so many places in your country and across the world. It means that you enjoy traveling. Now, if you wanna start a blog and start writing about traveling, it means that you have already chosen a website niche, which is traveling.
In the same way, there can be many niches like cooking, freezing, writing, and so on. Now if you choose any from them, it will be the website niche of your website. There are a lot of things which can be taken. Now you can start and work on the content of your website niche.
Step #2: Pick a domain name
What is a Brand Name?
You have chosen your website niche already. Now the second step is coming, which is Your Website Brand name. You have to check the Brand name availability. If you don’t know, what is the brand name? Okay, Actually the Brand name is the name of a Company or Organization. That name helps to recognize the company or organization. Just like Microsoft, Apple, Intel, Huawei, etc. So, Choosing a brand name is important to start a blog.
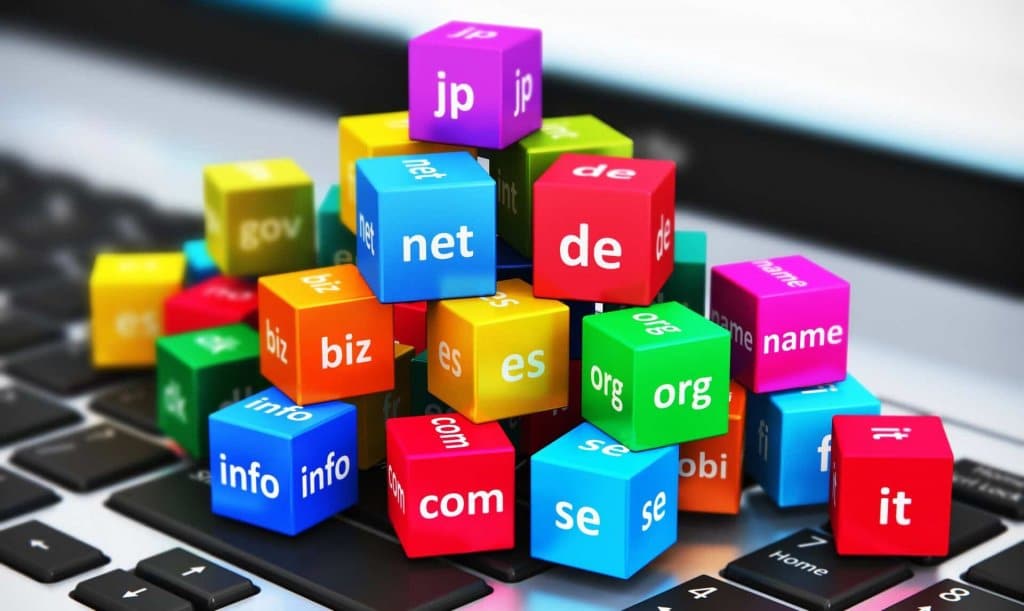
What is a Domain Name?
Domain Name-Think how many websites you visit per day. it approximately 3 to 5, it can be a more indifferent person. You may visit Amazon, or Clickbank to purchase any basic needs. Also, you may visit YouTube to learn the news or entertain yourself. You can also browse Facebook & Twitter to connect with people and use them to share your opinion on different topics and views. If you notice one thing, you will see, that you are visiting that social media and website with a unique link. Notice the Below Link.
Youtube Link: https://www.youtube.com/
Facebook Link: https://www.facebook.com/
Twitter Link: https://twitter.com/
Amajon Link: https://www.amazon.com/
Here the names Youtube, Facebook Twitter, and Amazon with the extension .com are called the domain names. The extension can be different according to your niche.
Step #3: Select a web hosting plan for starting a blog

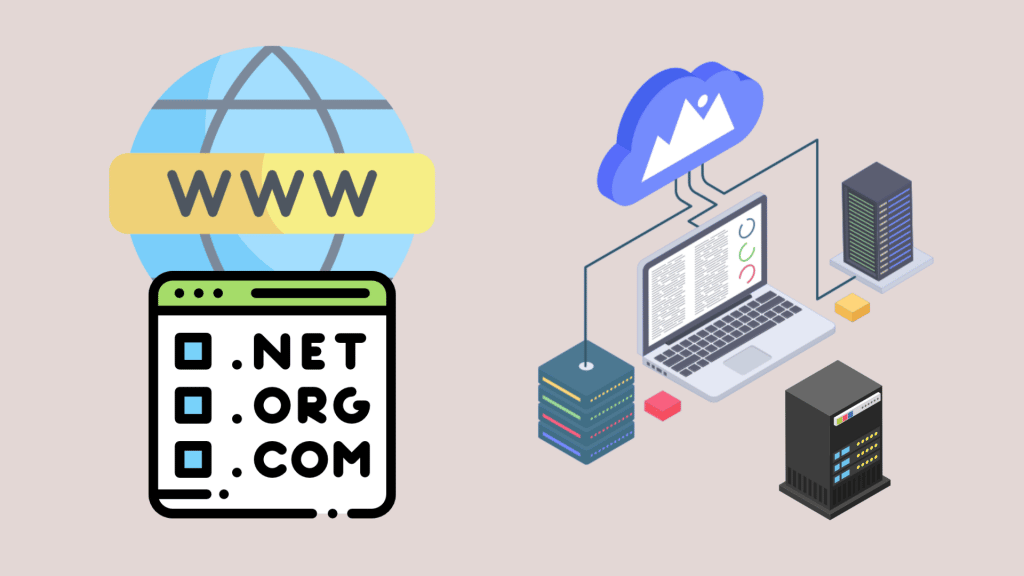
What is Web Hosting?
Web Hosting- In general, Hosting means storing something in a safe & secure place. Web hosting means to host or store the whole website in storage, which is called web hosting servers. The web hosting server is a full online service that is 24/7 open, that’s why a person can visit your website all the time day & night. Generally, a website has a lot of data like text, images, folders, videos, and so many things. All data is stored on the server. In short, where all website information and data are stored in a server is called a web hosting server. In the process the whole work is done is called web Hosting.
How to purchase Domain and Hosting?
Go to Domain hosting company and check it in just one click. Now GoDaddy, Namecheap, and Bluehost are the leading Most Trusted Domain and hosting companies in the market. You can Buy any domain and host from them with so many attractive packages. That package decreases the purchase cost of your plan. You have to know that, hosting and domain are important for website ranking in the future. So, choose a good Domain & Hosting plan from a trusted Domain Hosting Company. How to start the process?
First, open any of the websites (I’ll recommend choosing Namecheap Because Namecheap is best for both Domain and hosting amongst them) I have before and put the brand name on the text bar and click on check the availability.
Here you can easily check the domain availability
Find a domain starting at $0.88
powered by Namecheap
If your name is available. They will show you, Congratulations, you got it. Now, you should purchase the domain name with .com, .net, .org, etc Top-level domain. Now add this domain name to your hosting plan.
If you haven’t purchased any hosting plan before, then choose a plan from the website as shown. Now confirm the plan and complete the purchase process. Once you completed it you have completed the very first task for starting a blog successfully, Well done.
Learn More About– How to Purchase Domain & Hosting For A Website Or Blog Site.
Which is Easy & Simple.
Step #4: Choose a blogging platform to start a blog
Have you decided on any process to develop your blog site?
You can develop your website in many ways. Generally, there are two ways–
First- Develop your website manually with a web developer.
Second- Choose a CMS (Content Management System) Company ( WordPress, Wix ) to Develop your website.
Here You have to know that The first one is Difficult for any users or admin. Because it is not only difficult but also costly and lengthy. You may need a lot of money to get your desired website in time and also can face many difficulties in using time due to development errors. You may not use so many plugins and addons on your website in some cases. Moreover, it is too harsh to understand the back-end and control panel for the new owner and admin.
The second process of development with CMS is too easy to compare to the first one. Because the CMS (Content Management System) gives you all the basic, advanced tools to develop your website in a short time. It gives you access to thousands of Plugins and addons, by which you can your website to your aimed visitors and audiences. CMS gives you permission to develop any section of your website manually. That’s why you can maintain your website easily and can remain up to date. The best CMS Plugin helps a website to Speed up & fast and rank on Google as well. Moreover, there are so many advantages to CMS. Some main advantages are listed below.
Advantages of CMS
- It’s easy for all users
- It support multiple users
- Site maintenance is easy and modern
- Modular development
- Unlimited Pages & Features
- Fresh look & Modern Content Management Process
- Design changes are simple
- Best security
- Modern customer support
- SEO friendly features and support
- Developer and Community support
- Total Control of website
Step #5: Start a blog on CMS
There are so many cms in the market. However, more than 33% of websites are made by WordPress. So I recommend you start your blog journey with the most popular CMS WordPress. Now I’m going to explain to you “How to Start Blog with WordPress in 2020”.
I’m assuming that you have purchased a website domain and hosting. If you did so, now the work is to start the blog with WordPress. I’m gonna explain it with some easy steps. So let’s do it.
Install WordPress on Cpanel:
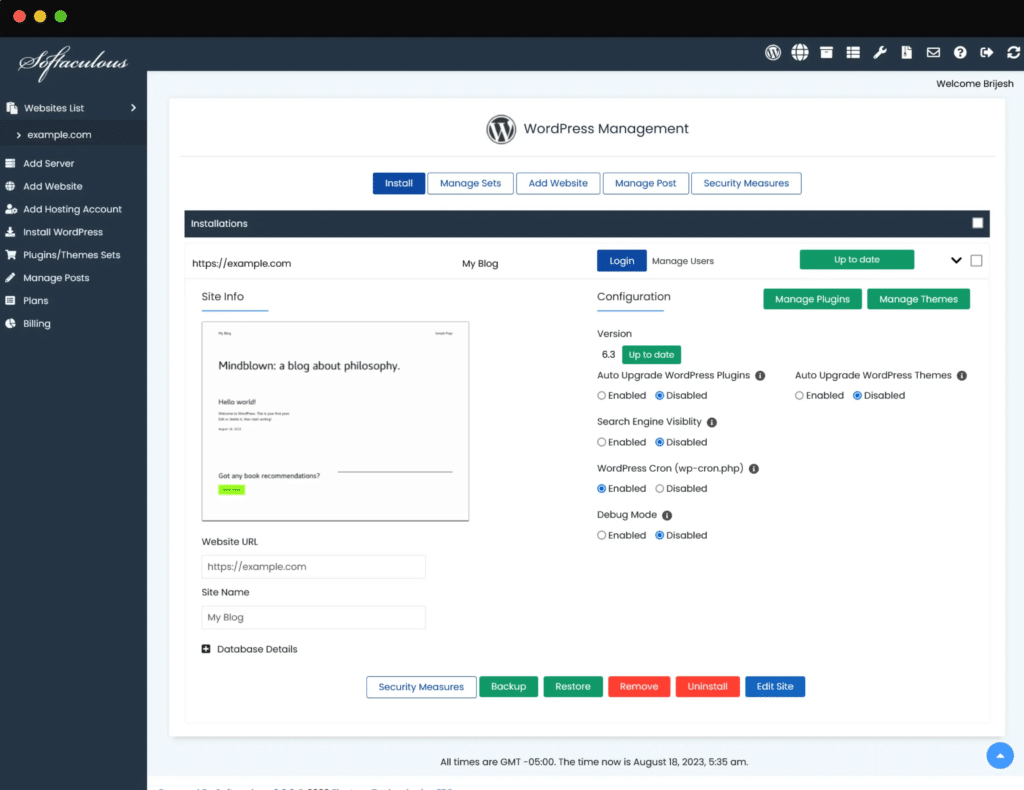
To install WordPress in Cpanel, first, log in to Cpanel of your website entering the user name & password provided by the domain & hosting company. Then try to find out the Softaculous Apps Installer. Which is actually a one-click app installer. It is really easy to use.
- Click on the WordPress software Icon.
- Software Setup: From the install option, you have to set up the software. Choose the version you want to install (version 5.5.1 is recommended). Then Choose Installation URL. If your website has an SSL Certificate then select ‘HTTPS’. If not then select ‘HTTP’. You can choose wp as a directory or you can keep it empty.
- Site Setting: Give a site name & site description.
- Admin Account: Give admin username & admin password for admin login. also, give an email if you create one.
- Choose language: English or any Language of your own.
- Select Plugin(s): You can select some plugins from here. Mark on the plugins that you want. If you did not mark any of the plugins from there, then no problem. you can install the plugins after the WordPress installation.
- Advanced Options: From the advanced option, you can Edit the database name and table prefix from there.
- Select theme: Select any theme from there or Skip the option.
- Then Click on the Install option.
Now WordPress website has been successfully installed in your hosting Cpanel.
Step #6: Select a Theme & Design the Blog
To upload a theme in WordPress, you have the first log in to your WordPress website. To login to your website enter (“www.domain name. com/ wp-admin”) in the search box. Then log in to your website by entering your username and password. Follow these easy steps for uploading a theme in WordPress.
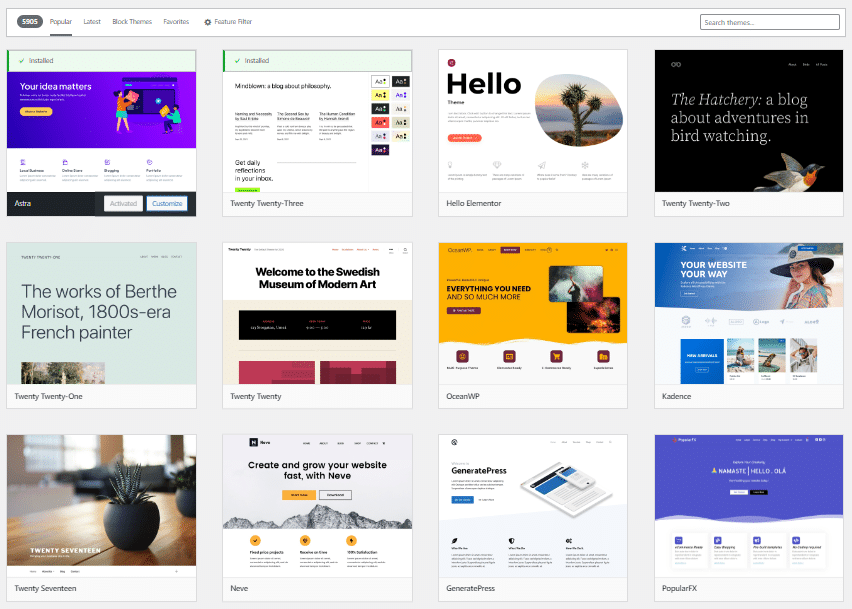
- Go to Appearance, then click on Theme.
- Now click on Add New and Search for any theme name if you know before. If you don’t know Then click on Popular. Then click on Astra or OceanWP as a theme.
- Click on the Install button to get it in WordPress.
- Now you have to Customize and Design the theme. Design is a lengthy process. If you do not know, How to design a Theme. Then Go to youtube and Search (“Theme Name’ Theme Design For WordPress). Learn How to design and implement it in your website.
- Add new widgets and menus to your website.
Always be updated on design.
Step #7: Make content in your Blog
You may realize, you are doing all of this work only for blogging. In blogging, content is the only way to reach visitors. So, if you wanna be a good blogger, you must make a quality blog post, that’s why you can reach the exact visitors actually you want. Give Focus to making a good post.
How to make content?
If you are new to WordPress, you can face problems with making a new post. it is really natural. If you don’t know, how to make new content or post. Then just follow the below steps to make a post.
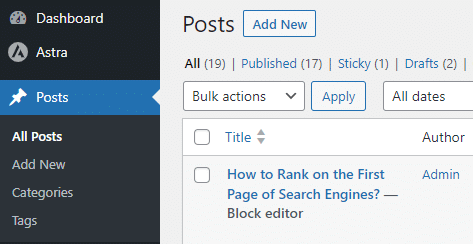
- Login to your wordpress account first.
- Then go to post option and click on add new.
- At first you have to write a title. Which is actually a Post Title.
- After that Start writing according to the Post Title.
- When you finished writing the post, then click on Publish to Publish to post.
Making posts is not so easy. There are also difficulties and obstacles. You have to find out about these all and resolve them.
Once You publish the post, you must SEO it for better Google search results. So start reading Step #8—–
Step #8: SEO your Blog Website
Publish a Blog and making a Post does not mean you have done 100% for your website. You have to do more for good search results to get a certain amount of visitors. Which is called SEO. SEO means “Search Engine Optimization”. SEO helps a website to the ranked top on Google’s first page. If you do so, you will get a lot of organic visitors from Google or any other search engine.
If You have Blogspot website–Learn how to SEO a Blogspot Website ( All Secret Tips Included )
If you don’t know “How to SEO a website in 2020″. So don’t worry about it. Here I will describe how you can SEO on your website. Follow the below steps to easily SEO your website.
I will do the website SEO in two Bigger Processes ——
- Customize WordPress Settings
- Add SEO Plugin and Boost Website
Customize WordPress Settings
WordPress settings are so important for website SEO. So you must make a proper change in the WordPress setting for good search results. Edit 5 below Settings.
- GENERAL SETTINGS
- WRITING SETTINGS
- READING SETTINGS
- DISCUSSION SETTINGS
- MEDIA SETTINGS
- PERMALINK SETTINGS
GENERAL SETTINGS:
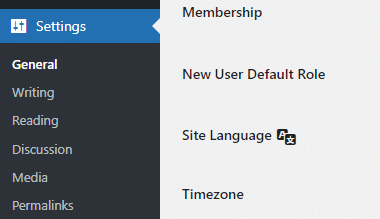
- First login to your WordPress account.
- Go to Settings option and click on General.
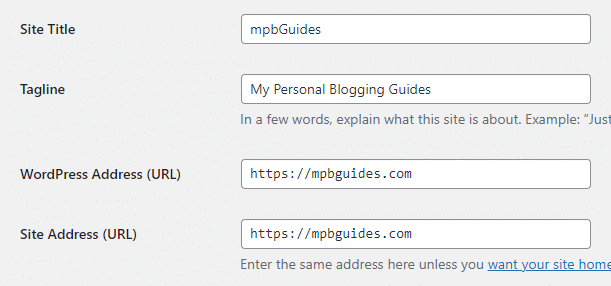
- Now give a “Site Title” & “Tagline“. Be careful about entering the “WordPress Address URL” & “Site Address URL“. Both should be same for better SEO.
- Then give an administration email address. Mark on membership for new registration. After that, select “Subscriber” as “New user Default Rule”.
- Next select “Site Language” & “Timezone”.
- I will recommend to select 1st option of both “Date Format” & “Time Format”.
- Then click on “Save Change”.
WRITING SETTINGS:
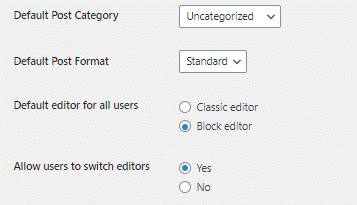
- Select Default post category–I will recommend you Select “blog” as a default post category if your website is actually a blog website. You can select any category from the drop-down list.
- Select Default post format–I will recommend you Select “Standard” as the Default post format.
- You do have not to change anything under Post Via Email in writing settings.
- Now click on Save Change to Update it.
READING SETTINGS:
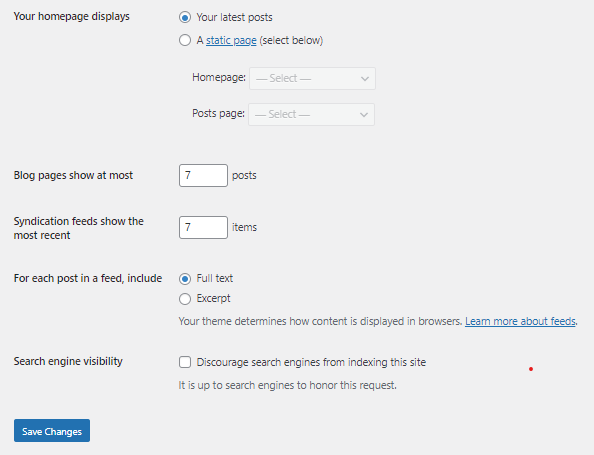
- If have not created a Static Page, Then Select “Your Latest Posts” as Homepage.
- Then Select a minimum post number for “Blog Pages Show at most”.
- Syndication feeds show the most recent “Enter Number” items.
- Select Summary as “For each post in a feed, include”
- Then Click on Save Change.
DISCUSSION SETTINGS:
In Discussion Settings, Default Setting is best. Even then you can modify it after.
MEDIA SETTINGS:
In media settings, here you can see the different image size options. You can edit all the image sizes manually. By default image size is good but you can moderate it on your own. Then click save the change.
PERMALINK SETTINGS:
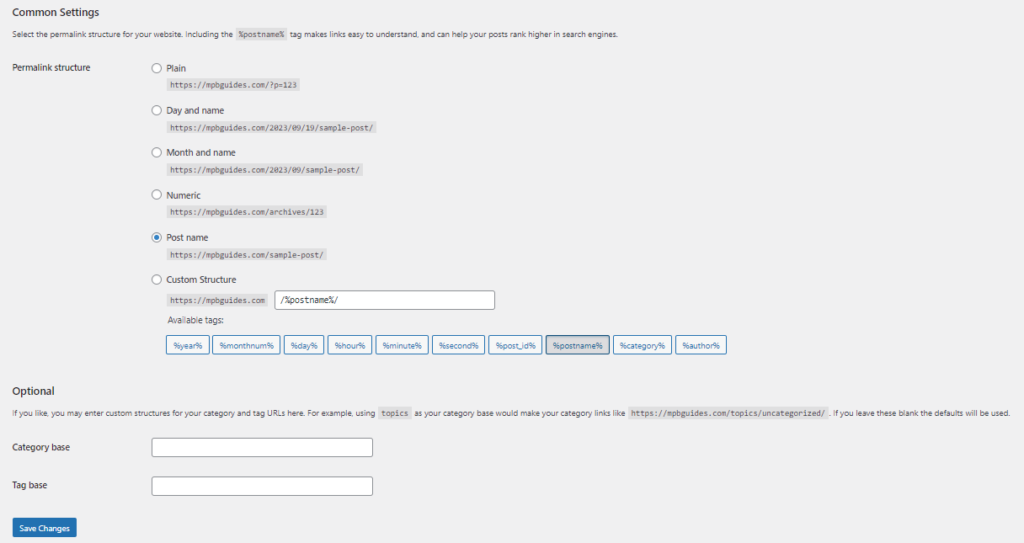
- From Custom Settings, Select “Post name” Url. Because Post name url is very helpful for SEO. You may know Url is a good factor for SEO. That’s why you have to select Post name url.
- Then Click on Save Change.
Now You have completed your WordPress settings. Well done.
Add SEO Plugin and Boost Website:
What is SEO Plugins?
An SEO plugin is a program, which helps a website to boost on search engines. That’s why websites get more visitors. There are so many SEO plugins online. You can use any of them. Of these plugins, “Yoast SEO” & ” Rank Math” are the two top popular SEO plugins by WordPress users. I’ll discuss here, how you can add Yoast SEO and Customize it in your WordPress.
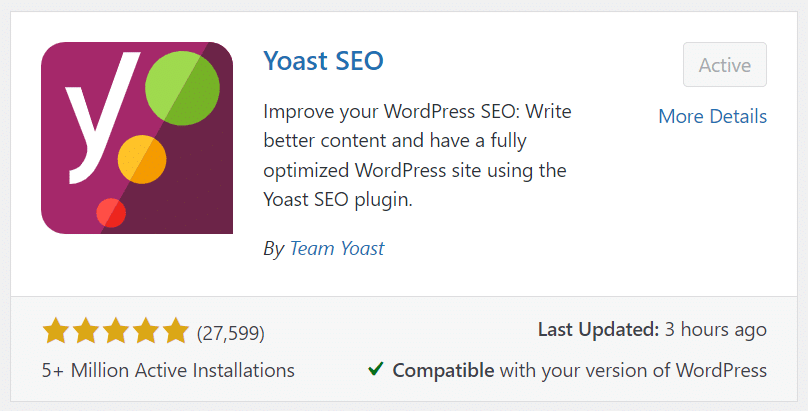
How to Add Yoast SEO Plugins?
- Login to your WordPress account first.
- Go to Plugins and click on Add New. Then search “Yoast SEO”.
- You will see the Yoast Seo Plugin Icon. Then click on Install And Click on Activate to give it permission to function.
Yoast SEO Killer Settings For New WordPress Users:
Yoast SEO is the most used and popular SEO plugin in the WordPress world. More than 5 million users using it to boost their website SEO. So I’m gonna explain here, the best settings for Yoast SEO.
In Yoast SEO there are 5 main Settings. I will explain all the settings one by one below. These are—–
- General
- Search Appearance
- Socials
- Tools
- & Premium
General-Yoast SEO

First Settings Features. Then Settings Webmasters.
Features Settings: Turn ON all the Features, Then click on Save Change.
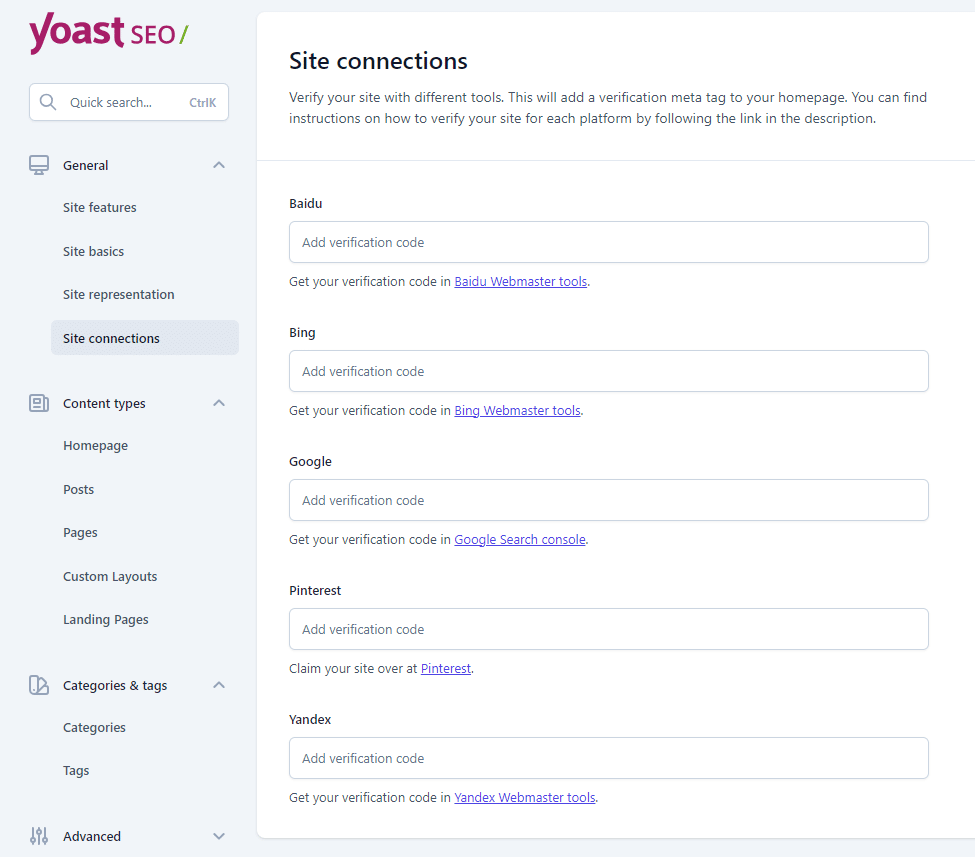
Webmaster Settings:
Now you have to submit your website in different Webmaster Tools. That’s why they can crawl and index your website properly. Nowadays the two popular webmaster tools are, “Google Search Console” Which is from Google, and The other webmaster tool, “Bing Webmaster Tools” which is from Bing.
Google Search Console:
If your website is new and newly started a blog, then submit your website to Google Search Console. Follow the below steps to submit any website. Check if you Signed in to your Google Account or not. If you did not, please sign in.
- First Copy your website Link or URL. Then Open Google Search Console. Click Here to open the Search Console
- After that, Click On Start Now.
- Then a pop-up window will open for Property Type. There are two options. There are two options one is “Domain” and there other one is “URL Prefix“. Choose One Process. I will recommend you to verify with “Domain” if you can. Otherwise, Verify with “URL Prefix“
- Now Paste the domain name of your website in the text bar. And click on continue.
- And Copy google-site-verification Code – Like “vThlBOiYZyLTRyXhS8zcVrSE1PY5PZ7-VFF7ifEQKlE“. Now Open WordPress Yoast SEO Settings and open Webmasters. Now paste the code in the Google verification code Box. Now click Save Change. After opening the Google Search Console tab click On verify.
- Then your website will be verified in Google webmaster tools.
Bing Webmaster Tools:
Submit your website in Bing webmaster tools. Follow the below steps to submit any website.
- First Copy your website Link or URL. Then Open Google Search Console. Click Here To Open Bing Webmaster Tools.
- Then Sign Up with a Google account, if you have one.
- After signing in you will get a new page to add your Website Domain Name or URL. You have to put the name or URL in the box and click on the add button.
- Then a new page comes up with a verification code. Verify with HTML Code, (Recommended).
- To verify the website, Just copy the HTML code and paste it into your website through Yoast SEO like the Google Search Console Verification Process.
- Then Click on Verify on the Bing Website Submission Page.
Search Appearance – Yoast SEO
General: In a general setting, you have to

- select a title separator
- Insert variables like, (site title, separator, and tagline). This setting is really vital for SEO.
- Then write a meta description. which is the main important data about your website. Google and Bing bots index your website according to the meta description. The meta description is that thing, which gives information to search engines about your website niche.
- Now input an Organization name and upload a logo of your organization.
- Then click save the change.
Content-Type :
In this section, we will fix the post and page settings and others.
Settings for single post URL:
- Show post in search results: click yes
- Show SEO settings for Posts: click show
- insert variable like–Title, separator, site title.
- Then keep the Meta Description Box Empty
Do Same Settings for single Page URLs, Template urls, project urls and Custom Layout urls.
Then Click Save Change To save all settings.
Taxonomies:
Categories- Show Categories in search results? click yes.
Tags- Show Tags in search results? Click NO
Formats- Format-based archives. Click on Disable
Projects Categories- Show project categories in search results. Click Yes
Project Tags- Show Project Tags in search results. Click Yes
Then Click on Save Change to save the settings.
Archive:
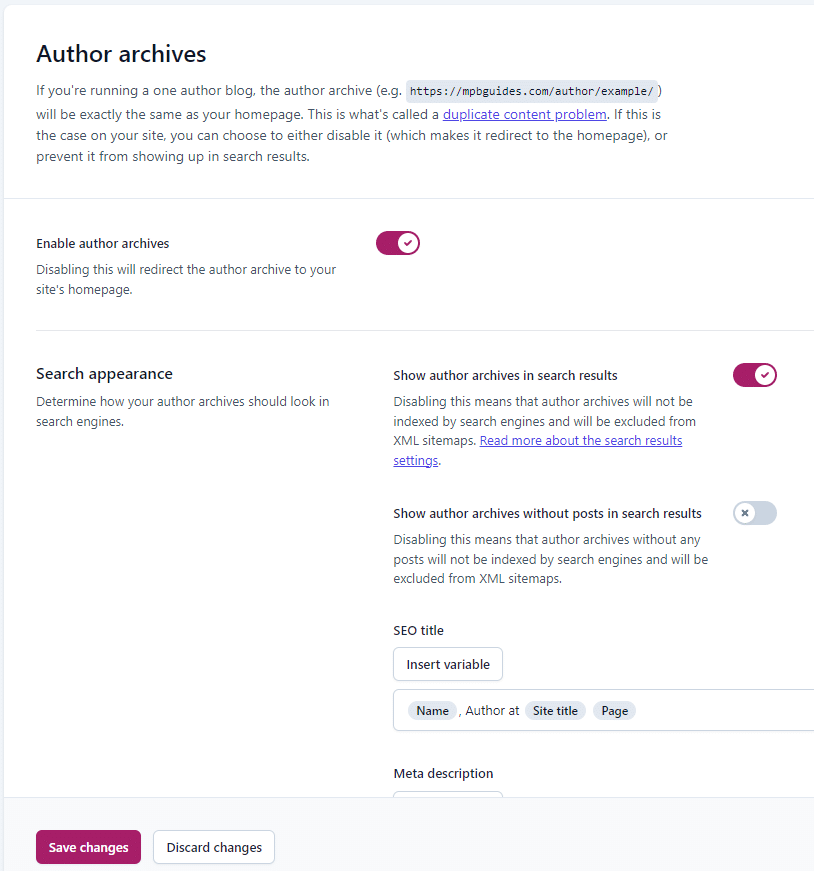
Author Archive Settings- Click on Disable.
Breadcrumbs :
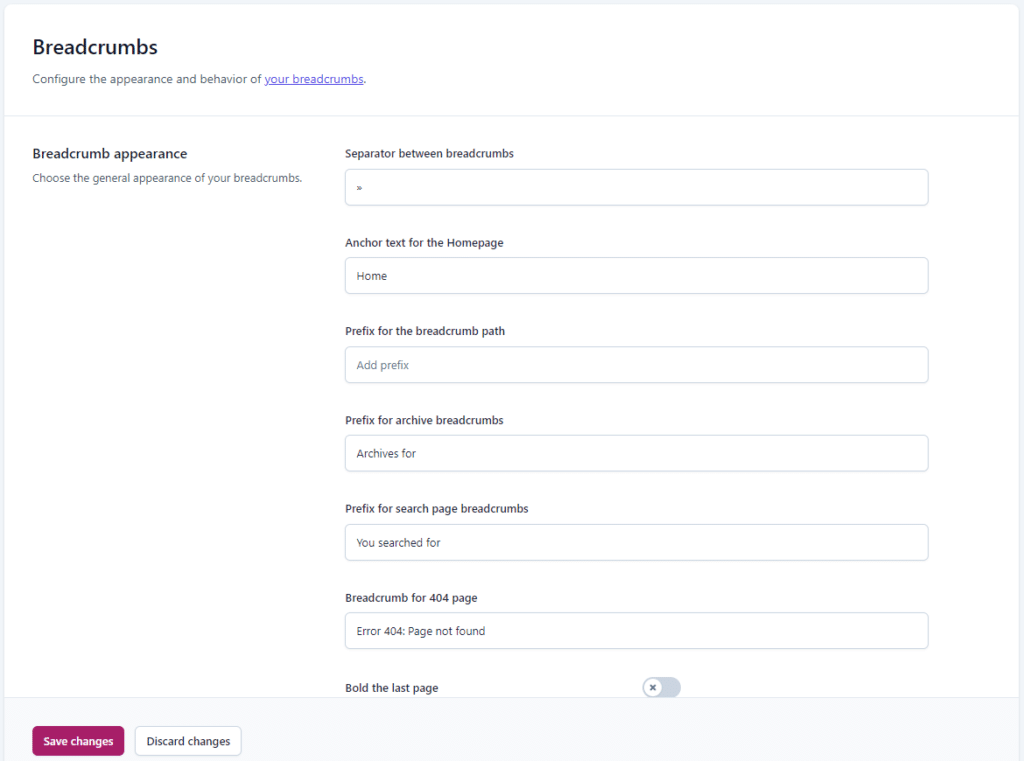
Breadcrumbs settings- Click Disable.
RSS:
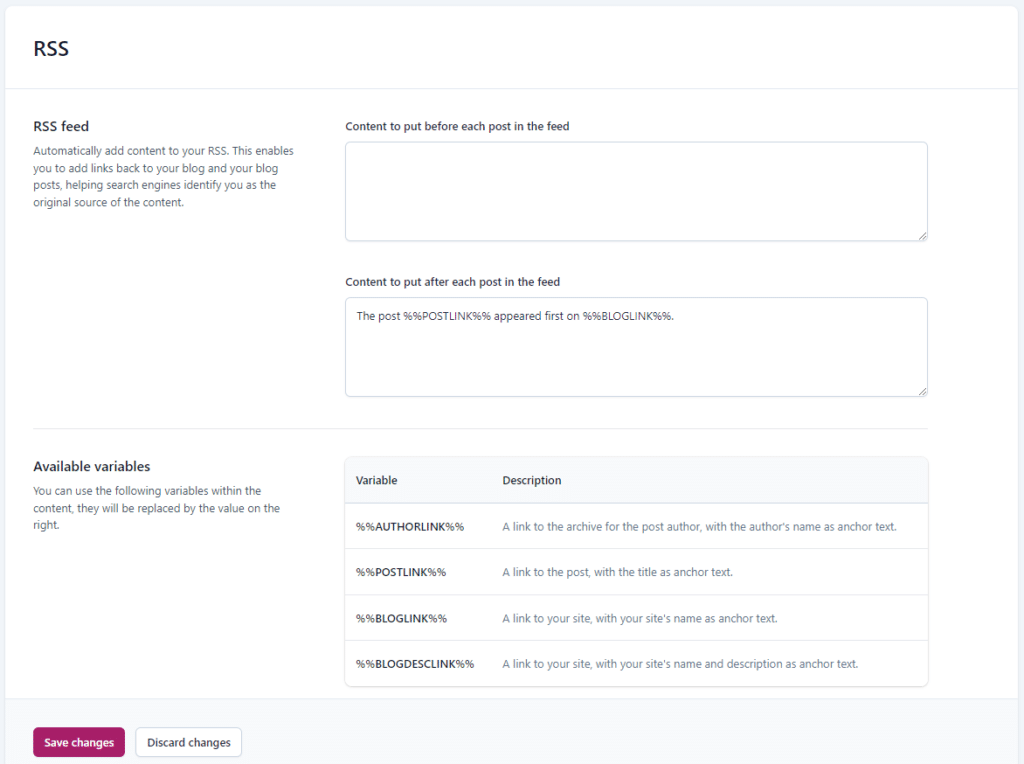
RSS feed settings
Social-Yoast SEO :
In this social SEO section, you will get many social platforms (like Facebook, Pinterest, Instagram, Linkedin, YouTube, etc.) to SEO your website.
Tools – Yoast SEO :
The tools section helps you to customize and edit many plugins and tools in one area.
Step #9: Make money from blogging
If you have a blog site or any website of your own, then you can make money from the website. You can monetize your website with Google Adsense to make money online. If your website is eligible for monetization, then you will make money with the website.
Conclusion: Once you complete all these tasks it will be very good for the overall SEO of your website. So You are almost done. Now create new post content and publish it online. Then see the miracle of the site performance.
If this blog post helps you. Then obviously share this post with your friends and social media for mass people engagement. Let to know people, how easy to create a blog website in 2021.
Follow us for More Guidelines on BLOG Making and Blog SEO. Thank You all.
Support us to share this post. Thank You


I am not sure where you’re getting your information, but great
topic. I needs to spend some time learning much more or understanding more.
Thanks for great info I was looking for this information for my mission.